
DIY: Dry Erase Board
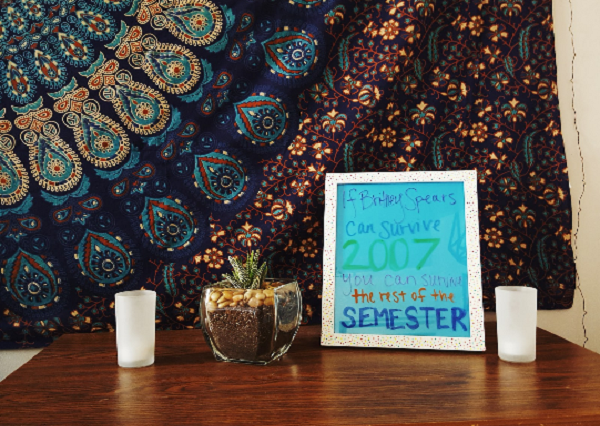
A great way for you to never forget anything, ever.
Materials:
- Scissors
- Picture frame (here I use an 8 ½ x 11 frame)
- Scrapbook paper or fabric
- Washi tape (optional)
- Dry erase markers
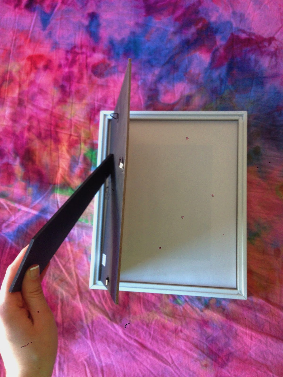
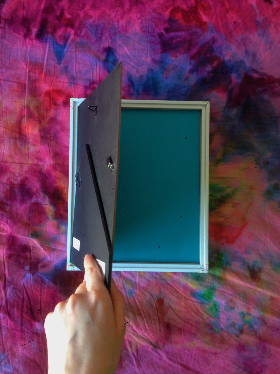
1. Take out any cardboard or pictures that come with the picture frame leaving only the back of the frame and glass.
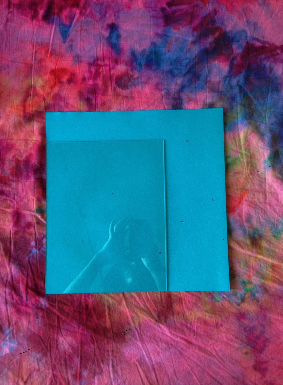
2. Use the glass to cut the paper or fabric down to size
3. Before assembling the frame back together, decorate it with washi tape. I used the washi tape on the frame so that it wouldn’t just be a white frame. Then put it all back together, adding the paper or fabric.
Voilà!

This is one of the easiest DIY’s I have ever done, and it’s a perfect way to keep to-do lists, reminders, or anything you want!
Another thing you can do is:
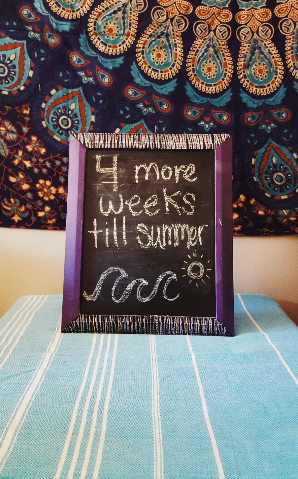
Create a mini chalk board. All you need to do is follow step one, and instead of putting paper behind the glass, paint the glass with chalkboard paint. (I used this one) Let it dry, then put the frame back together! Here, I also painted the top and bottom of the frame with the chalkboard paint.