
DIY: Okra Stamping
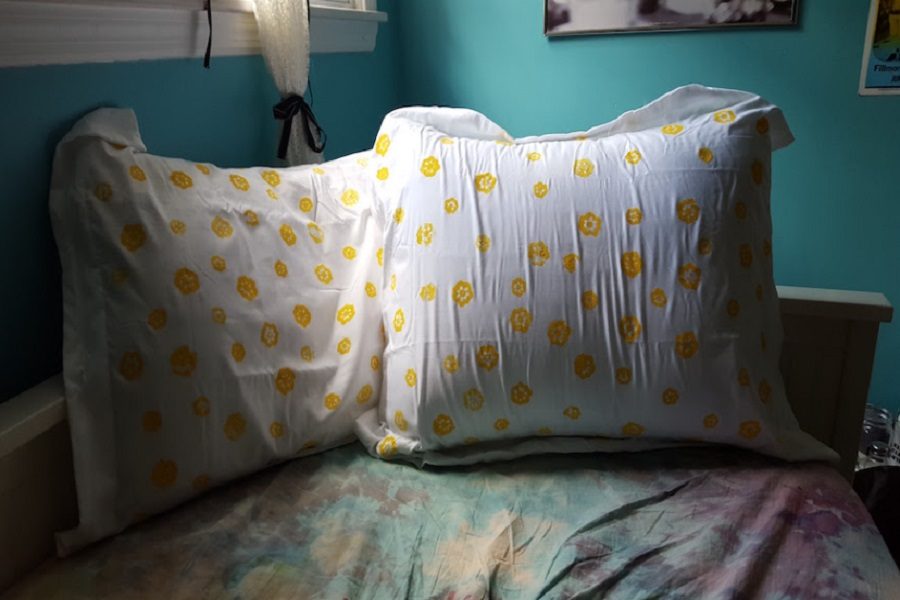
This is the perfect DIY project if you want a unique print! It takes a little bit longer because you do have to wait for the paint to dry, but it turns out great. I found this idea on Pinterest because someone used okra to stamp on a notebook cover. I decided to use this on fabric bins, that I also wrapped a burlap fabric around, and then stamped with the okra. I decided to also do pillowcases to see how they would turn out on a softer fabric. As you can see above, it turned out great!
Here’s what I used
– 2 pillow cases
– Acrylic paint or fabric paint
– 4 various sized okra
– Knife
– Paintbrush
– Pieces of cardboard (depending on what you’re using)
Here’s how to do it:
1. If you are stamping something like pillow cases, or a t-shirt, put the pieces of cardboard inside. This will prevent the paint from seeping onto the other fabric.
2. Cut about a half centimeter off from the stem, to use the okra as a stamp. It should look like this:
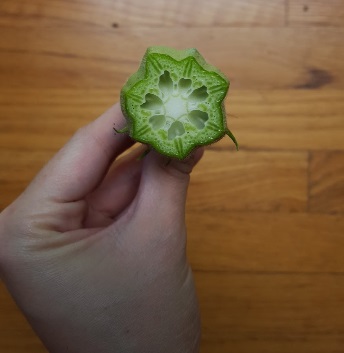
3. Using the larger end, not the cut-off stem part, you can either dip the piece in the paint a bit, or use the paintbrush to put an even layer on the stamp. I found that by using the paintbrush, I didn’t use too much paint (which could result in just a glob look).
Once the paint drys, you are done! I would recommend using acrylic paint at your own caution, since I have yet to test whether it’s washer-safe.