DIY: Pumpkin Decorating
Halloween has come and gone, but fall is still here. I found three different ways for you to still decorate pumpkins! Use them as the centerpiece at your Thanksgiving dinner or add a fall touch to your dorm room. Decorating pumpkins is fun and perfect for procrastinating.
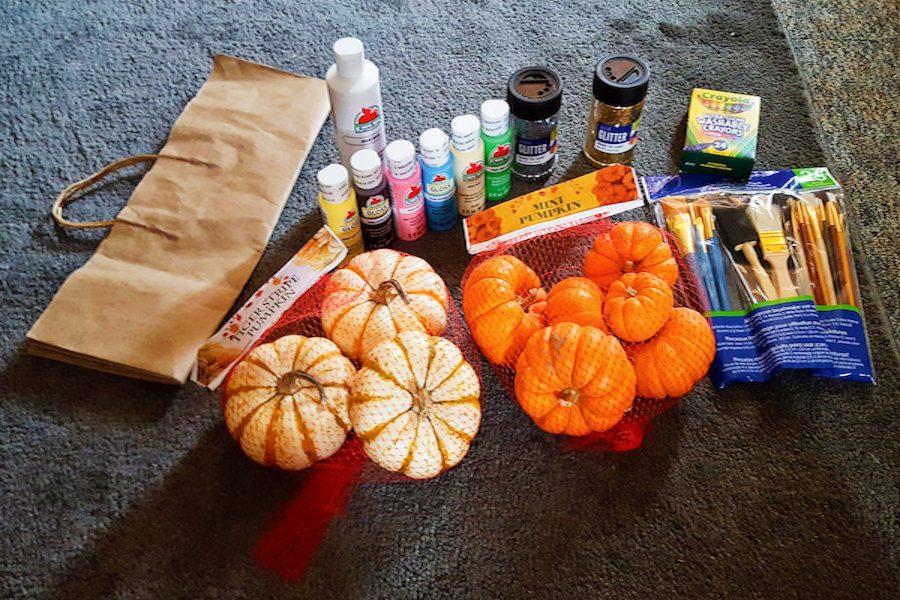
For all of these DIY’s, make sure you wash the pumpkins off. They tend to have some dirt on them, and it’s easier to work on a clean canvas.
The first way you can decorate your pumpkins is with glitter or confetti. As someone who loves glitter, this was super fun and easy to make. However, the tutorial says to use a sponge to apply the glue; I suggest a paint brush. That way you have the option to make a design or control just how much glitter is on the pumpkin!
What you’ll need:
- Paint brushes
- Confetti or glitter
- Liquid glue (Elmer’s or any kind of craft glue)
- Newspaper
1. First, paint the pumpkin, whatever color you like. I chose to paint them black and white to keep it simple.
2. Once the paint is dry, use the paintbrush to create a design on the pumpkin, or whatever you want.
3. Over newspaper, or trash can, pour the glitter or confetti over the glue on the pumpkin and shake off the rest.
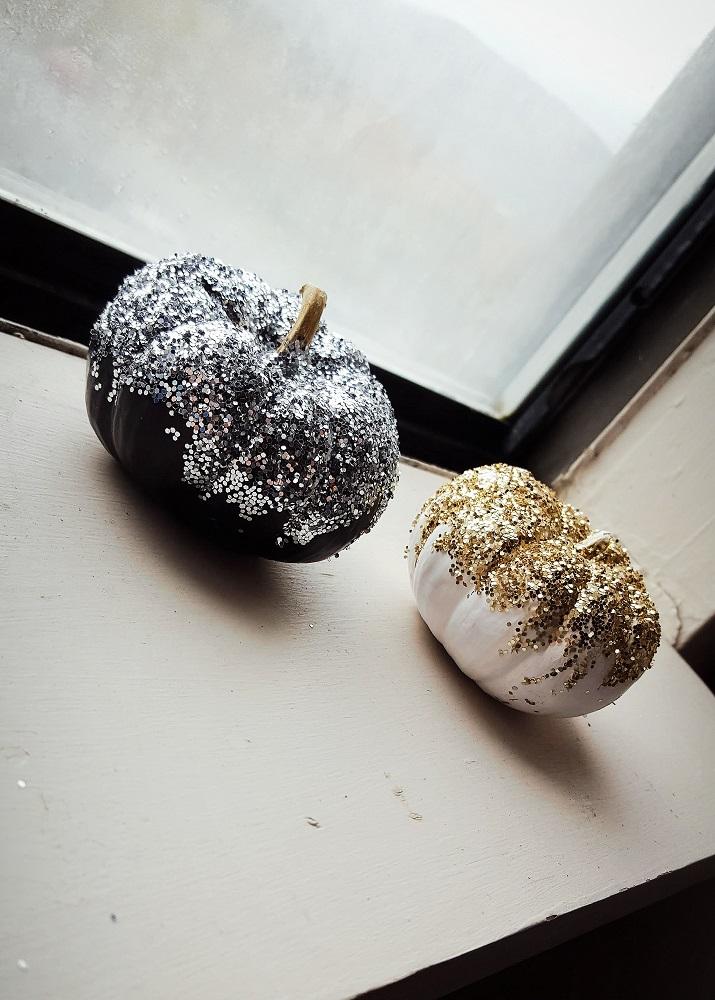
You’re done! This DIY is super simple, cheap, and a different way to make your pumpkins stand out.
The next way to decorate your pumpkins is to melt crayons over them! The pumpkins I used for this one weren’t all white like in the version I based this off of, but the choice is yours. You could always paint the pumpkins any color you want.
What you’ll need:
- Liquid glue (Elmer’s or any kind of craft glue)
- Crayon
- Blow dryer
- Newspaper or paper bag
1. Choose which colors you want to use, take off the paper label on the crayon, and break about a third of the crayon off. Glue the pieces of the crayons onto the pumpkin, let dry a bit.
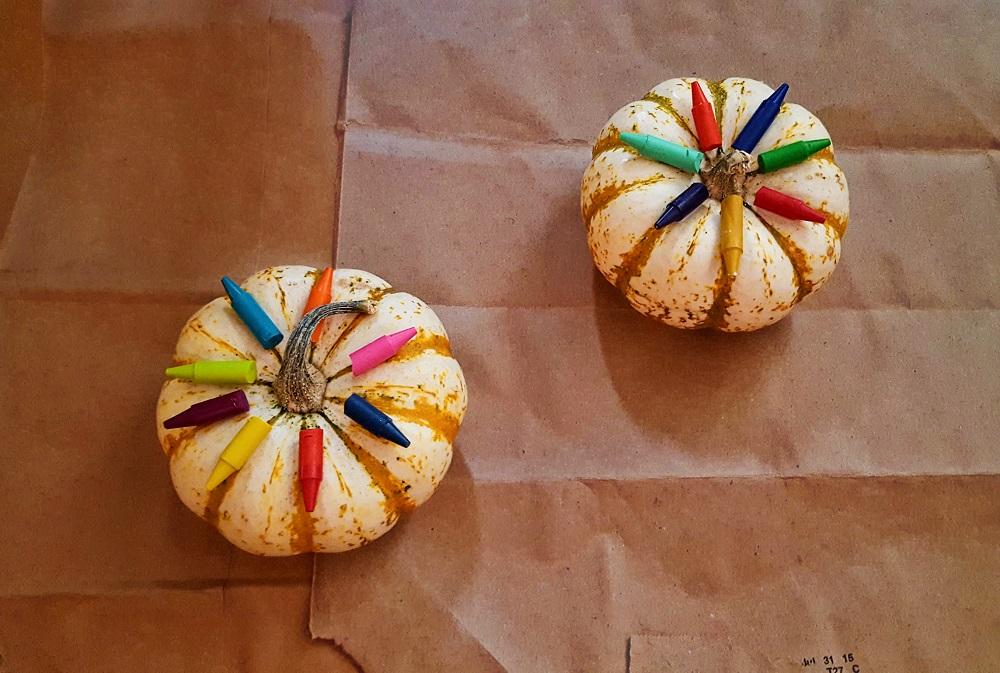
2. Use the blow dryer, directly above the top of the pumpkin to melt the crayons. Make sure these pumpkins are in the middle of the newspaper paper. This is because the crayons will splatter a bit.
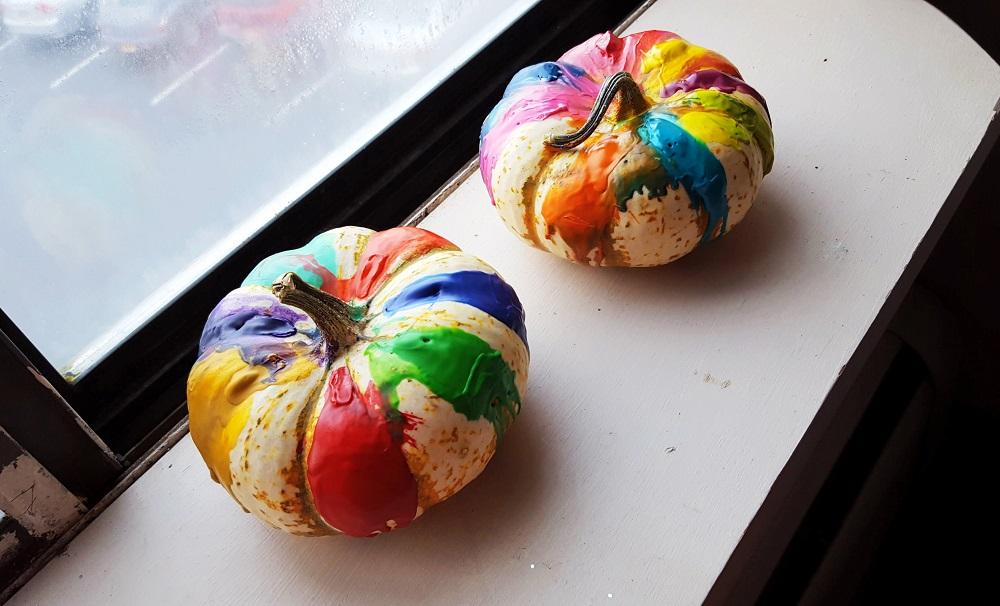
That’s it! This DIY is the easiest to do, and is pretty cool to create. The crayons may take a little bit to melt, and you can move the blow dryer around to make the colors mix, or move the wax in a certain way.
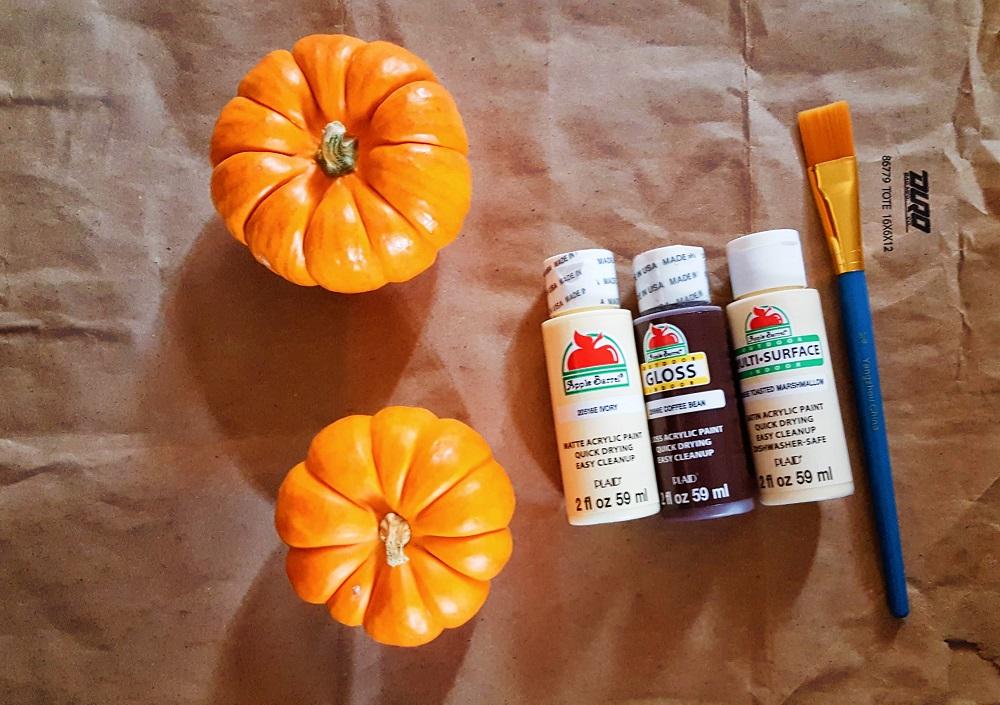
The last way to decorate a pumpkin is definitely my favorite, donut pumpkins.
What you’ll need:
- Acrylic Paint (in various colors)
- Paint Brushes
- Newspaper or paper bag
1. Paint a base coat. I combined ivory, cream-ish, and brown paints to create the color of the actual donut. Do a couple coats of that, and let dry.
2. Next paint on the icing, find a middle between the stem and bottom and create a line (it’s okay if it’s uneven), and let dry.
3. Then use any colors you want to add sprinkles, with a fine brush.

Just like the real thing!
These donut looking pumpkins are a great way to add a little something different to your dorm decor.
I want to see photos of your pumpkins!